
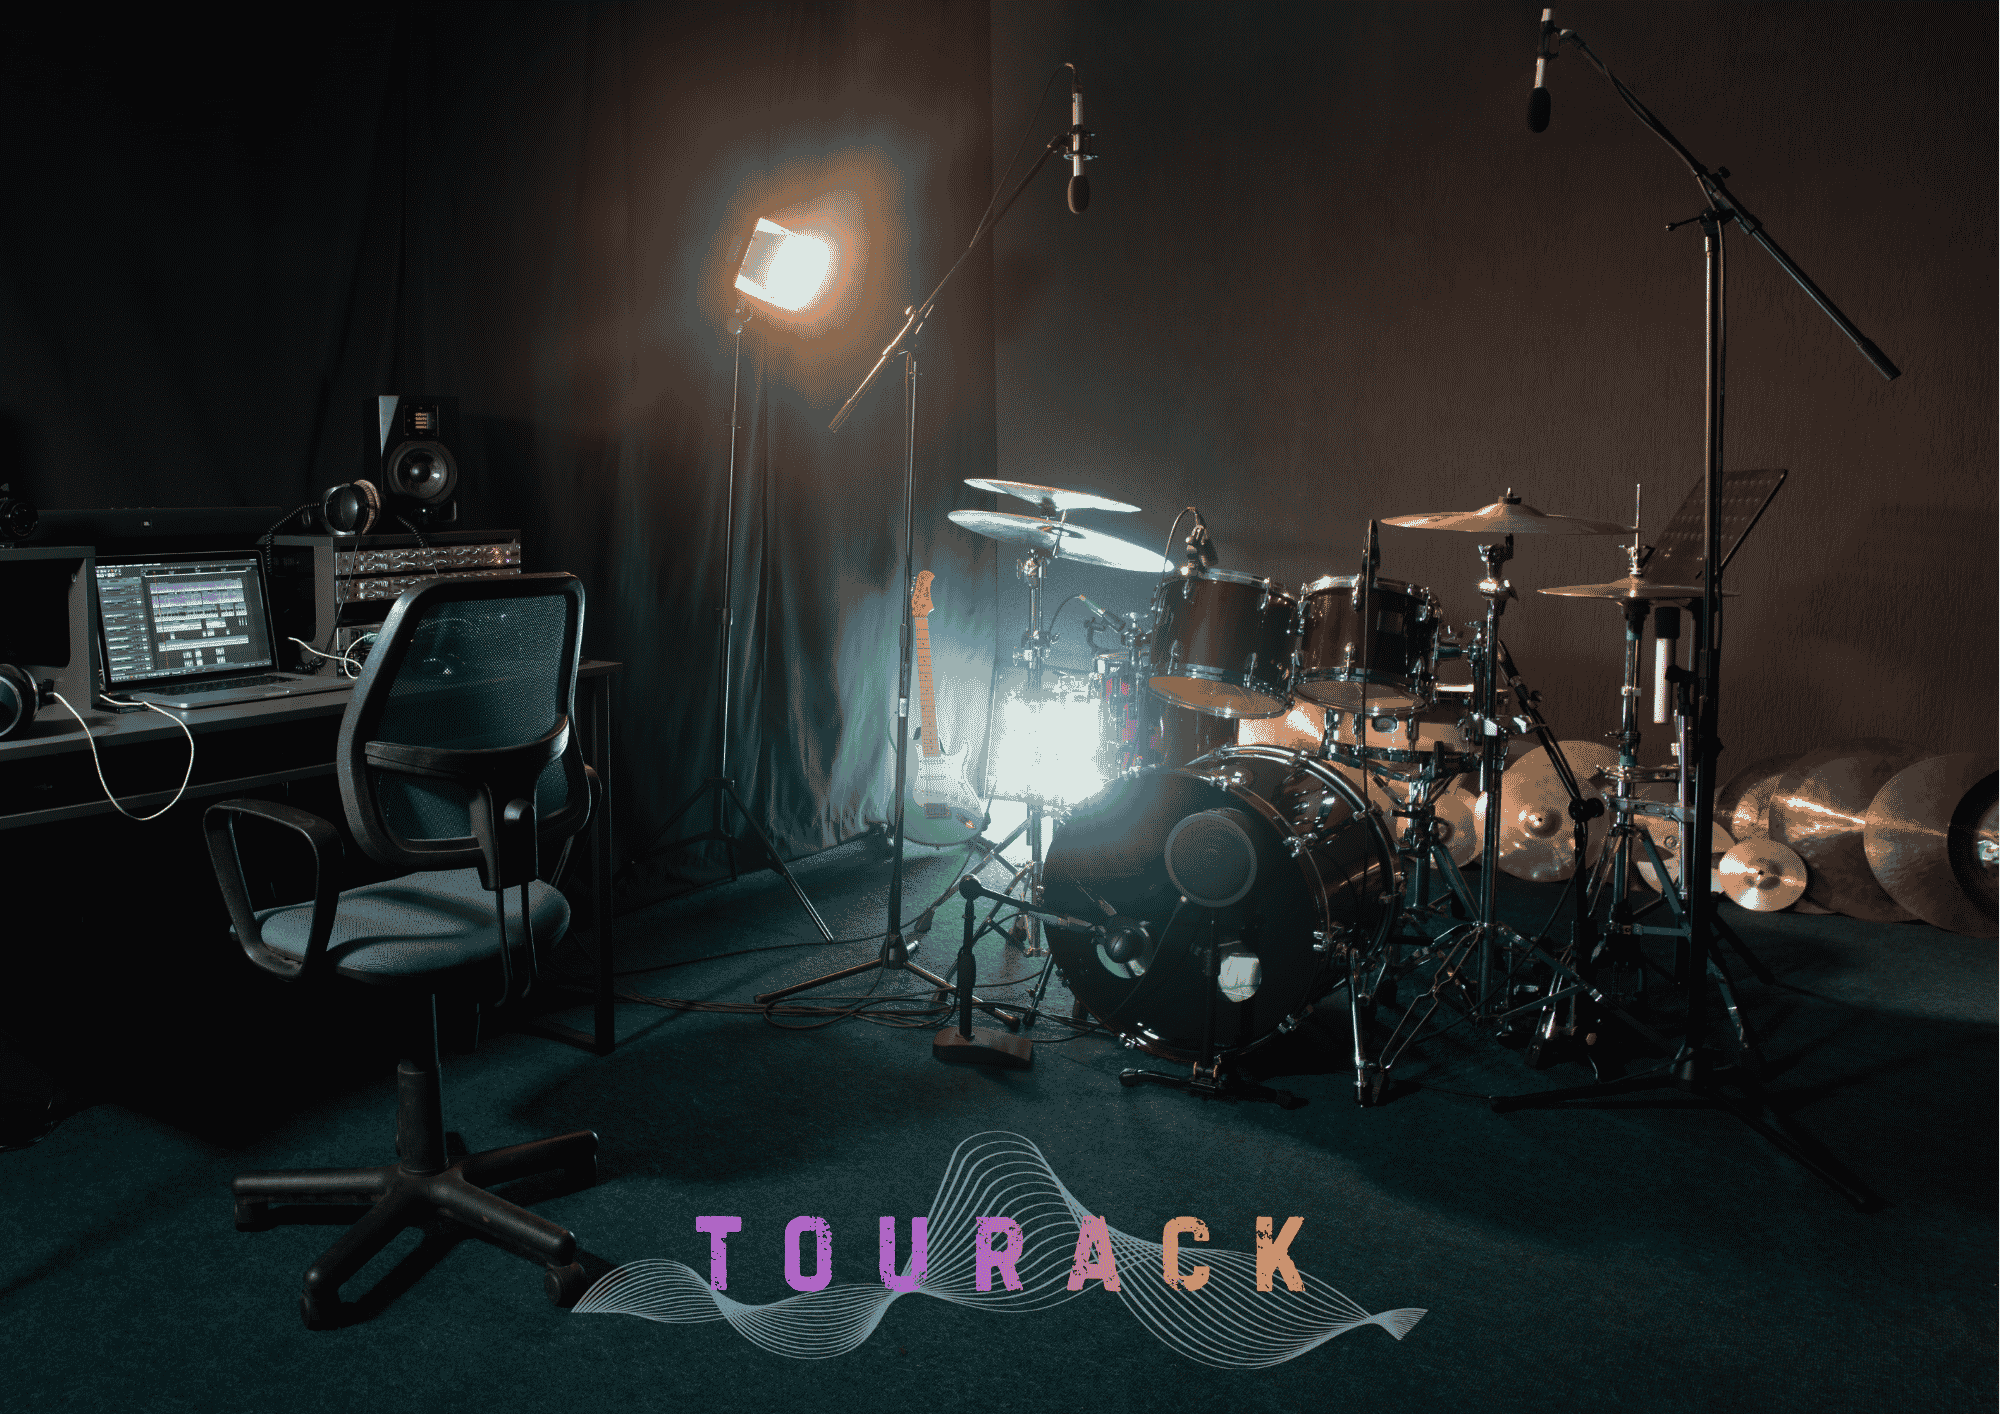
Introduction
Drums are often considered one of the most challenging instruments to record—and for good reason.
Unlike recording a single vocal or guitar, drum recording involves capturing multiple instruments playing simultaneously while maintaining balance, clarity, depth, and natural dynamics.
The good news is that great drum recordings don’t always require dozens of microphones or a million-dollar studio. With thoughtful preparation, proper microphone placement, and a well-tuned drum kit, you can achieve professional results in almost any recording environment.
This guide walks you through the fundamentals of recording acoustic drums, from preparing the kit to capturing a balanced performance.
Step 1: Start with a Great-Sounding Drum Kit
Before placing a single microphone, focus on the instrument itself.
A well-maintained drum kit will almost always produce better recordings than expensive microphones placed on poorly tuned drums.
Check:
- Drum tuning
- Drumhead condition
- Hardware stability
- Pedals
- Cymbal placement
- Squeaks and rattles
Remember:
You can’t fix poor drum tuning in the mix.
Step 2: Prepare the Recording Room
The room becomes part of the recording.
Large rooms often provide a spacious, natural sound, while smaller rooms produce tighter, more controlled recordings.
If you’re recording in a home studio:
- Minimize unwanted reflections.
- Reduce excessive echoes.
- Remove noisy objects.
- Add acoustic treatment where appropriate.
- Keep HVAC noise to a minimum.
Sometimes a well-treated small room outperforms a large untreated space.
Step 3: Choose the Right Microphones
A drum kit combines loud transients, wide frequency ranges, and complex dynamics.
Different microphones are often chosen for different parts of the kit.
Kick Drum
Typically uses a dynamic microphone designed to capture:
- Low-end punch
- Attack
- Definition
Snare Drum
A dynamic microphone is commonly used for:
- Crack
- Body
- Presence
Toms
Dynamic microphones provide excellent isolation while handling high sound pressure levels.
Overheads
Condenser microphones are commonly used to capture:
- Cymbals
- Stereo image
- Overall kit balance
Many engineers consider overhead microphones the foundation of the drum sound.
Room Microphones
If the room sounds good, adding one or more room microphones can provide depth, ambience, and realism.
Step 4: Microphone Placement
Microphone placement has a greater impact than microphone price.
Small adjustments of only a few inches can dramatically change the recorded sound.
When positioning microphones:
- Aim for consistency.
- Avoid phase problems.
- Listen carefully after every adjustment.
Don’t hesitate to experiment until the kit sounds balanced.
Step 5: Check Phase
Phase issues occur when multiple microphones capture the same sound at slightly different times.
Symptoms include:
- Thin kick drum
- Weak snare
- Hollow sound
- Reduced low frequencies
Always listen to the full drum kit in mono during setup to identify possible phase problems before recording.
Step 6: Set Proper Recording Levels
Drums produce wide dynamic swings.
Leave enough headroom for unexpected peaks.
Avoid recording as loudly as possible.
Modern recording systems provide plenty of dynamic range, making clean recordings with adequate headroom the preferred approach.
Step 7: Record the Entire Kit
Instead of focusing on individual drums, listen to the kit as one instrument.
Ask yourself:
- Does the kick support the groove?
- Is the snare balanced?
- Are cymbals overpowering?
- Do the toms blend naturally?
- Does the overall kit sound musical?
The goal is a cohesive performance—not isolated drum sounds.
Step 8: Capture Multiple Takes
Even experienced drummers rarely deliver the perfect performance in one take.
Record several complete performances.
Additional takes provide options during editing while preserving a natural feel.
Common Drum Recording Setups
Minimal Setup
Ideal for:
- Songwriters
- Home studios
- Budget recording
Typical setup:
- Kick microphone
- Snare microphone
- Stereo overheads
Standard Studio Setup
Often includes:
- Kick
- Snare Top
- Snare Bottom
- Rack Tom
- Floor Tom
- Stereo Overheads
- Hi-Hat
- Room Microphones
This configuration offers excellent flexibility during mixing.
Professional Multi-Microphone Setup
Large studios may additionally record:
- Multiple room microphones
- Stereo front-of-kit microphones
- Ride cymbal microphone
- Stereo ambience microphones
These recordings provide greater creative flexibility during mixing.
Preparing for the Mix
After recording:
- Label tracks clearly.
- Organize microphones logically.
- Save session backups.
- Remove unwanted noises between takes.
- Check phase relationships one final time.
Good organization speeds up the mixing process considerably.
Common Mistakes
Recording Untuned Drums
The best microphones cannot compensate for poorly tuned drums.
Using Too Many Microphones
More microphones don’t automatically create better recordings.
A simple, well-balanced setup often sounds more natural.
Ignoring Phase
Phase issues are among the most common causes of weak drum recordings.
Overprocessing During Recording
Record clean signals whenever possible.
Compression, EQ, and effects can usually be added later during mixing.
Frequently Asked Questions
How many microphones do I need to record drums?
It depends on your goals.
A basic four-microphone setup can produce excellent recordings, while larger productions often use eight or more microphones for additional control during mixing.
Should I compress drums while recording?
Unless you have experience with hardware compression, recording clean signals is generally the safer approach.
Are overhead microphones important?
Yes.
Many engineers build the entire drum sound around the overhead microphones before blending in close microphones.
Can I record drums in a bedroom?
Absolutely.
With careful microphone placement, thoughtful acoustic treatment, and proper drum tuning, excellent recordings can be achieved in many home studio environments.
Final Thoughts
Recording great drums is about preparation, balance, and capturing a musical performance.
A well-tuned kit, thoughtful microphone placement, and careful attention to room acoustics will almost always have a greater impact than purchasing additional equipment.
As your recording skills grow, you’ll discover that listening critically and making small adjustments often produces bigger improvements than constantly upgrading gear.
At TOURACK, we’re passionate about helping musicians and recording engineers build studios that inspire creativity. Whether you’re selecting drum microphones, audio interfaces, recording software, or acoustic treatment, our TOURACK Advisors™ are here to help you choose equipment that fits your studio and your recording goals.
Related Products
- Drum Microphones
- Condenser Microphones
- Dynamic Microphones
- Audio Interfaces
- Digital Mixers
- Microphone Stands
- XLR Cables
- Acoustic Treatment
- Studio Headphones
Related Articles
- Choosing Your First Audio Interface
- Best Studio Layout
- How to Record Professional Vocals at Home
- Dynamic vs. Condenser Microphones
- Home Studio Acoustic Treatment Guide
- Best Drum Microphones for Recording
- Recording Acoustic Guitar: A Complete Guide