
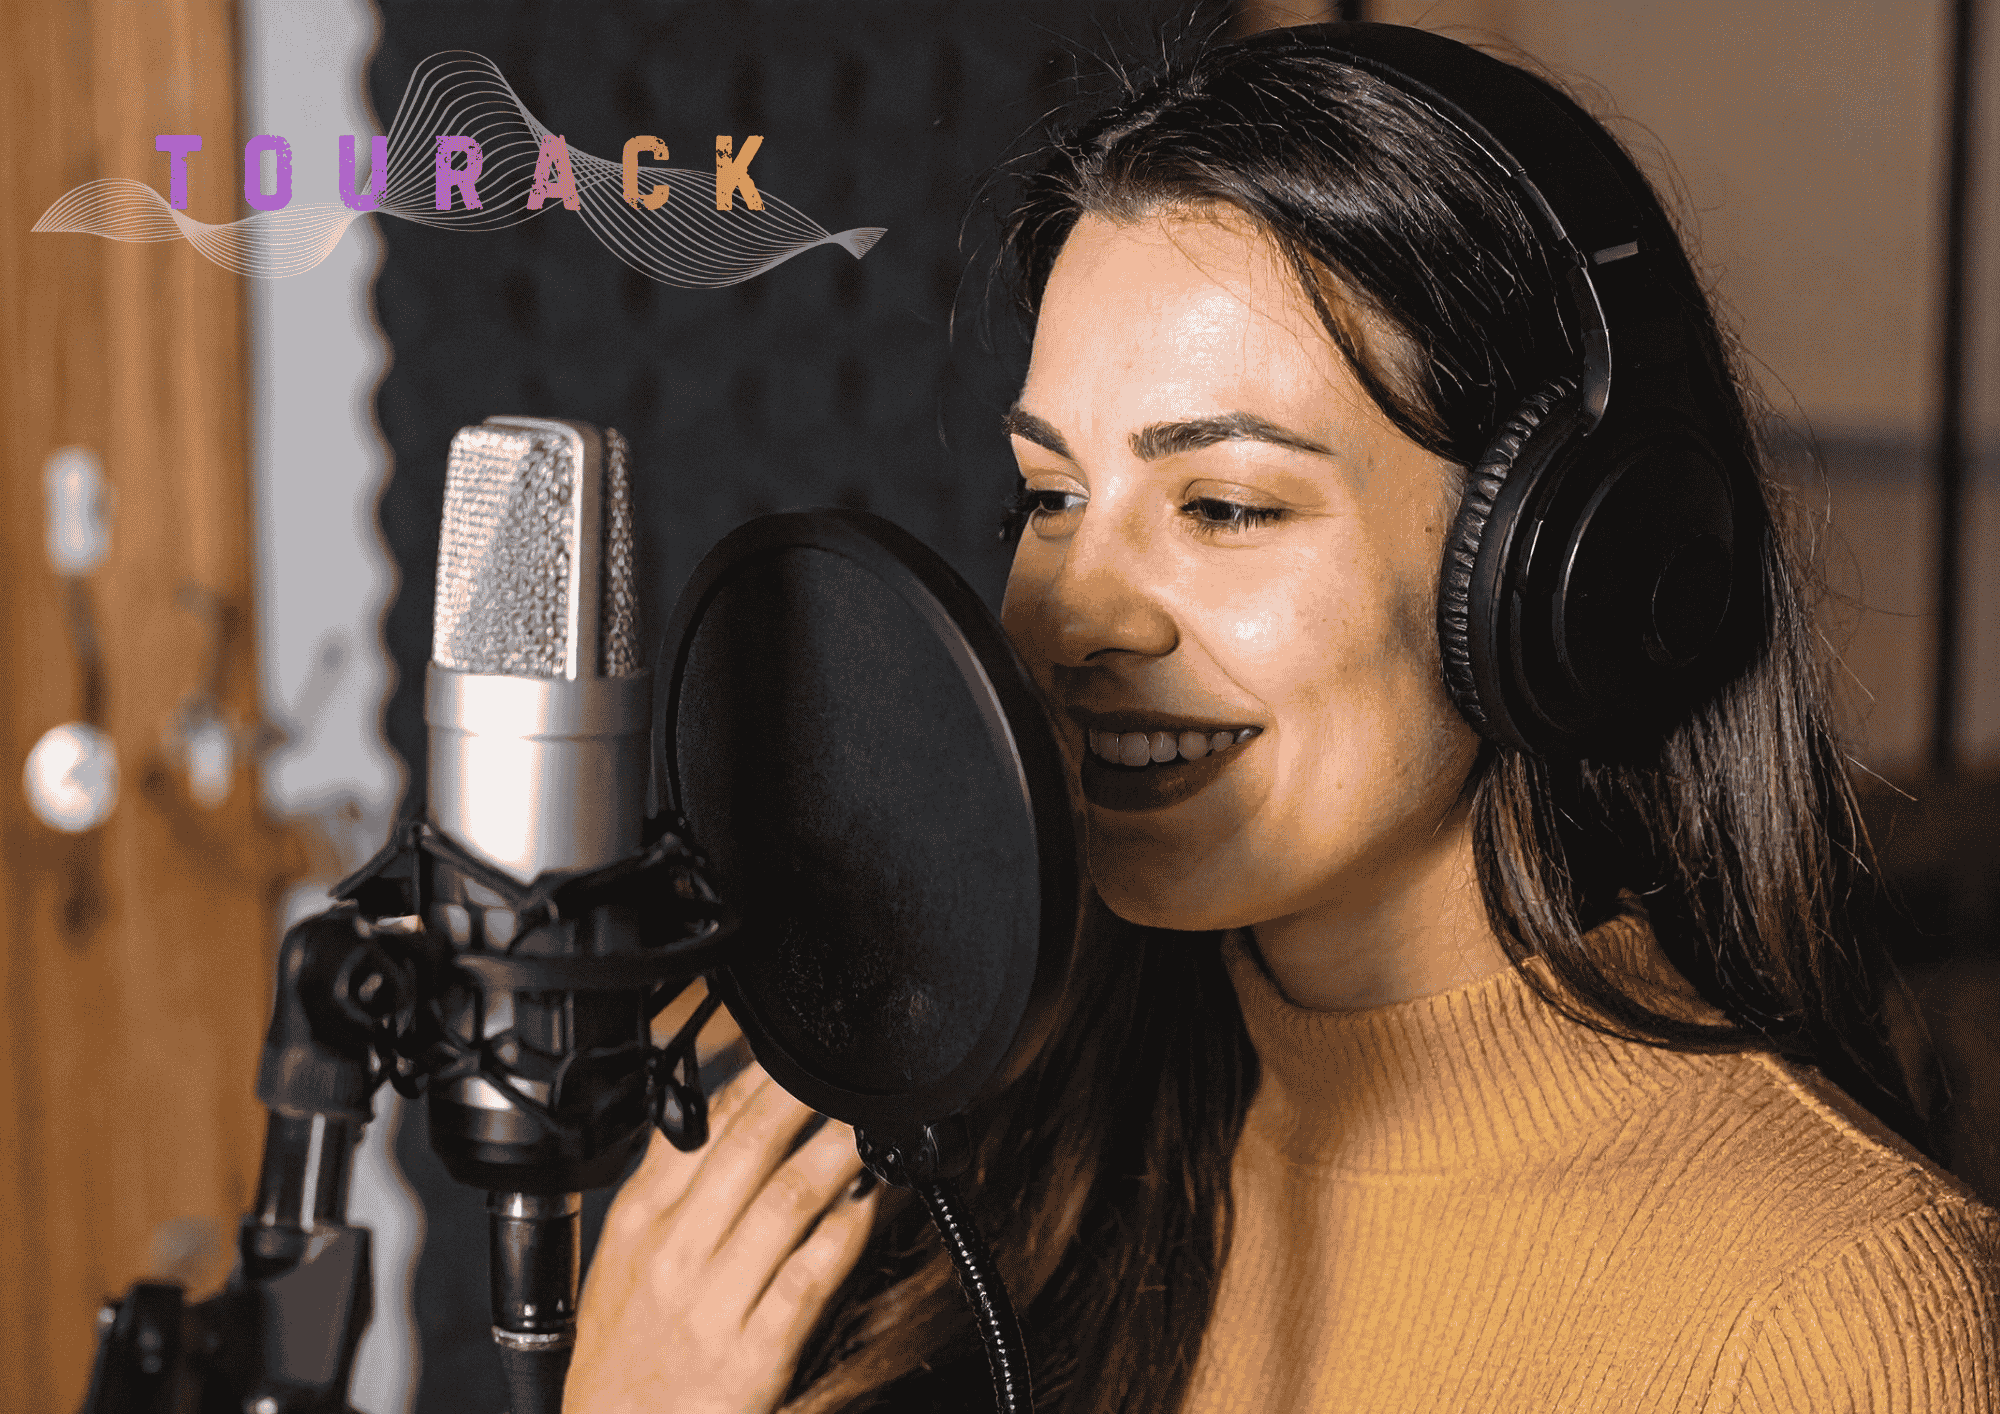
Introduction
A great vocal recording doesn’t start with expensive equipment.
It starts with good preparation, proper technique, and understanding how to capture a performance naturally.
Whether you’re recording a song, podcast, voice-over, audiobook, or online content, following a few proven recording practices can dramatically improve your results.
This guide walks you through the complete process of recording professional-sounding vocals from your home studio.
Before You Start
You don’t need a commercial recording studio to capture excellent vocals.
A basic recording setup typically includes:
- A quality microphone
- Audio interface
- Microphone stand
- Pop filter
- Closed-back headphones
- Recording software (DAW)
- A quiet recording environment
Good technique is often more important than expensive equipment.
Step 1: Choose the Right Recording Space
The room has a huge impact on your recording.
Hard surfaces create reflections that can make vocals sound distant or echoey.
Look for a room with:
- Carpet or rugs
- Curtains
- Furniture
- Bookshelves
- Acoustic treatment if available
Avoid recording in kitchens, bathrooms, or large empty rooms whenever possible.
Step 2: Position Your Microphone Correctly
Microphone placement is one of the easiest ways to improve your recordings.
A good starting point is placing the microphone:
- About 6–8 inches (15–20 cm) from your mouth
- Slightly above mouth level
- Angled slightly downward toward your lips
This position often helps reduce plosive sounds while maintaining a natural vocal tone.
Step 3: Use a Pop Filter
A pop filter helps reduce bursts of air caused by words beginning with letters like:
- P
- B
- T
Without one, these plosives can create distracting low-frequency pops in your recording.
Place the pop filter a few inches in front of the microphone, leaving a comfortable distance between you and the mic.
Step 4: Set the Correct Input Gain
One of the most common mistakes is recording with too much gain.
Aim for healthy recording levels without clipping.
As a general guideline:
- Average vocal levels should remain comfortably below the maximum recording level.
- Leave enough headroom for louder phrases and emotional performances.
Modern recording systems provide plenty of dynamic range, so there’s no need to record as loudly as possible.
Step 5: Wear Closed-Back Headphones
Always monitor through headphones while recording.
Closed-back headphones help prevent backing tracks or click tracks from leaking into the microphone.
They also allow you to hear:
- Background noise
- Pops
- Distortion
- Timing issues
before recording an entire performance.
Step 6: Warm Up Your Voice
Professional vocalists rarely begin recording immediately.
Spend a few minutes:
- Breathing
- Stretching
- Practicing scales
- Singing easier passages
A proper warm-up helps improve consistency and reduces vocal strain.
Step 7: Record Multiple Takes
Don’t expect perfection from a single performance.
Record several complete takes.
Then record additional passes for:
- Difficult phrases
- Harmonies
- Ad-libs
- Alternate interpretations
Multiple takes give you more flexibility during editing.
Step 8: Stay Consistent
Try to maintain a consistent distance from the microphone.
Moving closer dramatically increases bass response, while moving farther away changes the room sound and overall recording level.
If you need more volume, sing louder rather than moving closer to the microphone.
Step 9: Record a Clean Signal
It’s generally best to record vocals without heavy processing.
Avoid recording with excessive:
- Compression
- Equalization (EQ)
- Reverb
- Delay
A clean recording gives you greater flexibility during mixing.
Common Mistakes to Avoid
Recording Too Loud
Digital clipping cannot be repaired after recording.
Leave enough headroom for unexpected peaks.
Standing Too Close
Being too close can exaggerate bass frequencies and increase plosives.
Maintain a comfortable recording distance throughout the performance.
Ignoring Background Noise
Turn off unnecessary noise sources whenever possible, including:
- Fans
- Air conditioners
- Televisions
- Mobile phone notifications
Even quiet background sounds become noticeable after compression during mixing.
Chasing Perfection
Sometimes the most emotional performance isn’t technically perfect.
Focus on capturing an authentic performance before worrying about minor imperfections.
Basic Vocal Recording Checklist
Before pressing Record, confirm:
- ✔ Quiet room
- ✔ Microphone securely mounted
- ✔ Pop filter installed
- ✔ Headphones connected
- ✔ Input gain adjusted
- ✔ Recording software armed
- ✔ Correct sample rate selected
- ✔ Water nearby
- ✔ Mobile phone silenced
A few minutes of preparation can save hours of editing later.
Frequently Asked Questions
How far should I stand from the microphone?
A distance of approximately 6–8 inches (15–20 cm) is a good starting point, though the ideal position may vary depending on the microphone and vocal style.
Should I use a condenser or dynamic microphone?
Both can produce excellent results.
Condenser microphones often capture greater detail, while dynamic microphones naturally reject more background noise and room reflections.
Do I need acoustic treatment?
Professional acoustic treatment can improve recordings, but many excellent results are achieved by recording in quiet, well-furnished rooms with minimal reflections.
Should I compress vocals while recording?
Unless you have experience with recording signal processing, it’s generally best to capture a clean recording and apply compression later during mixing.
Final Thoughts
Recording great vocals is about more than owning expensive equipment.
The right microphone placement, proper gain staging, a quiet recording environment, and a confident performance will often have a greater impact than upgrading your gear.
With practice and attention to detail, you can produce clear, natural, and professional-sounding vocal recordings from almost any home studio.
At TOURACK, we’re here to help you build the recording setup that fits your goals. Whether you’re choosing your first microphone, upgrading your audio interface, or improving your home studio, our TOURACK Advisors™ can help you make confident decisions every step of the way.
Related Products
- Studio Microphones
- Audio Interfaces
- Closed-Back Studio Headphones
- Pop Filters
- Shock Mounts
- Microphone Boom Arms
- Acoustic Panels
- Vocal Recording Bundles
Related Articles
- Choosing Your First Audio Interface
- Dynamic vs. Condenser Microphones
- Home Studio Setup Guide
- Best Vocal Microphones
- How to Choose the Right Audio Interface for Your Home Studio