Introduction
Livestreaming has become one of the most powerful ways to connect with audiences around the world.
Whether you’re teaching online classes, hosting a podcast, leading worship services, streaming gameplay, performing live music, or presenting business webinars, viewers expect professional-quality audio and video.
The good news is that building a high-quality livestream setup doesn’t require a television studio. With the right equipment and a thoughtful workflow, you can create engaging livestreams from your home, office, studio, or event venue.
This guide explains the essential equipment and best practices for building a professional livestream setup.
Step 1: Start with Great Audio
Viewers are often more forgiving of average video than poor audio.
Clear, natural sound should be your highest priority.
Depending on your content, consider:
Dynamic Microphones
Ideal for:
- Podcasts
- Livestreams
- Gaming
- Home offices
- Untreated rooms
They naturally reduce background noise and room echo.
Condenser Microphones
Great for:
- Studio environments
- Music performances
- Voice-over
- Professional broadcasting
These microphones capture greater detail but require a quieter recording space.
Step 2: Choose the Right Camera
A quality camera helps create a more professional viewing experience.
Popular options include:
Webcam
Perfect for:
- Remote meetings
- Online teaching
- Beginner livestreams
Mirrorless or DSLR Camera
Provides:
- Higher image quality
- Better low-light performance
- Cinematic depth of field
Ideal for creators seeking a more polished production.
PTZ Camera
Excellent for:
- Churches
- Conferences
- Corporate events
- Large studios
PTZ (Pan-Tilt-Zoom) cameras allow remote operation and multiple camera positions.
Step 3: Improve Your Lighting
Lighting often makes a bigger visual difference than upgrading your camera.
A simple three-point lighting setup includes:
- Key light
- Fill light
- Back light
Natural lighting can also produce excellent results when controlled properly.
Avoid placing bright windows directly behind you.
Step 4: Capture Professional Audio
If you’re using XLR microphones, you’ll need an audio interface or digital mixer.
Benefits include:
- Professional microphone preamps
- Low-latency monitoring
- Better sound quality
- Multiple microphone support
For interviews or panel discussions, a mixer offers additional flexibility.
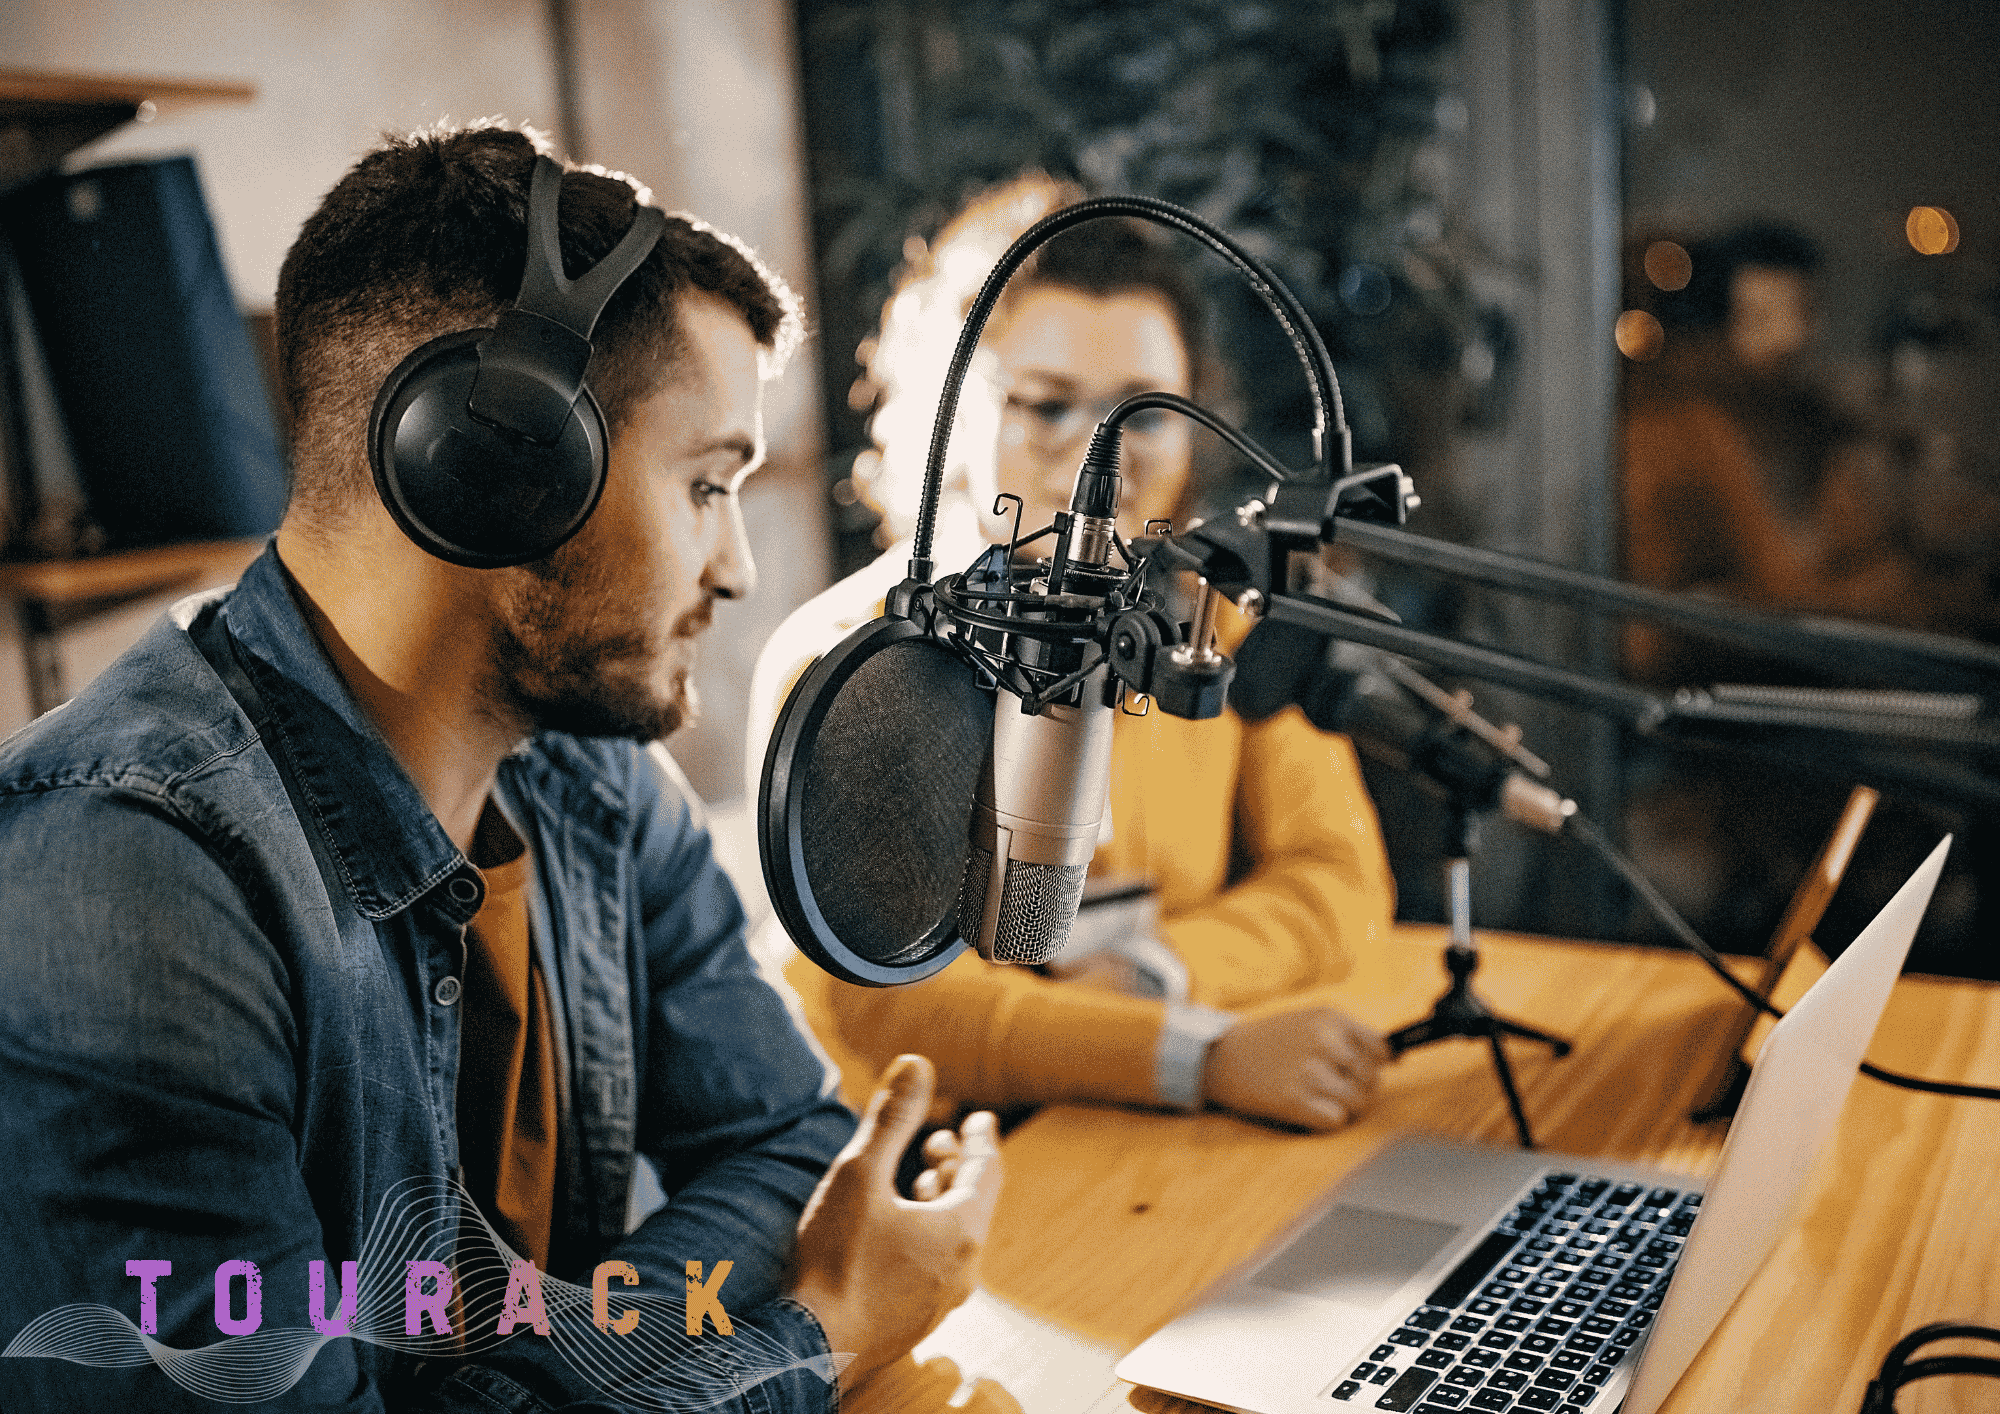
Step 5: Use Headphones While Monitoring
Closed-back headphones allow you to monitor:
- Audio levels
- Background noise
- Echo
- Microphone issues
Monitoring during your livestream helps identify problems before your audience notices them.
Step 6: Choose Reliable Streaming Software
Streaming software allows you to combine cameras, microphones, graphics, and screen sharing into a professional broadcast.
Common features include:
- Multiple video sources
- Scene switching
- Lower thirds
- Screen capture
- Audio mixing
- Live chat integration
- Recording while streaming
Choose software that matches both your experience level and production goals.
Step 7: A Stable Internet Connection Is Essential
A reliable internet connection is just as important as your camera or microphone.
For the best results:
- Use a wired Ethernet connection whenever possible.
- Avoid congested Wi-Fi networks.
- Close unnecessary applications during your stream.
- Test your upload speed before going live.
A stable connection helps prevent interruptions and improves the viewing experience.
Step 8: Add Professional Graphics
Simple graphics make your livestream more engaging.
Consider adding:
- Intro screen
- Countdown timer
- Name titles
- Logo
- Social media links
- Closing screen
Consistent branding helps create a polished, professional appearance.
Step 9: Organize Your Workspace
A clean workspace improves both efficiency and presentation.
Keep frequently used equipment within easy reach, including:
- Camera controls
- Microphone
- Keyboard
- Audio interface
- Stream Deck (if used)
- Notes or script
Good cable management also reduces clutter and makes troubleshooting easier.
Example Livestream Setups
Beginner Creator
Ideal for:
- YouTube
- Facebook Live
- Online teaching
- Podcasting
Equipment may include:
- USB microphone
- HD webcam
- LED light
- Laptop
- Closed-back headphones
Intermediate Creator
Perfect for:
- Weekly livestreams
- Interviews
- Product demonstrations
- Business presentations
Equipment may include:
- XLR microphone
- Audio interface
- Mirrorless camera
- Softbox lighting
- Streaming software
Professional Studio
Designed for:
- Multi-camera productions
- Live concerts
- Church livestreams
- Corporate broadcasts
- Professional podcasts
Equipment may include:
- Multiple cameras
- Digital audio mixer
- PTZ cameras
- Video switcher
- Professional lighting
- Dedicated streaming computer
Common Mistakes to Avoid
Prioritizing Video Over Audio
Poor audio causes viewers to leave much faster than average video quality.
Using Built-In Laptop Microphones
Dedicated microphones provide significantly better clarity and professionalism.
Ignoring Lighting
Even an expensive camera struggles in poor lighting.
Overcomplicating Your Setup
Start simple.
Build a reliable workflow before adding additional cameras, effects, or advanced production features.
Frequently Asked Questions
Can I livestream with just a laptop?
Yes.
A laptop with a quality USB microphone and webcam provides an excellent starting point for many creators.
Do I need a DSLR camera?
No.
Many professional livestreams use webcams or PTZ cameras. Good lighting and audio often matter more than the camera itself.
Should I use Wi-Fi or Ethernet?
Whenever possible, use a wired Ethernet connection for greater stability during livestreams.
Do I need an audio interface?
If you’re using XLR microphones, yes. USB microphones connect directly to your computer and don’t require a separate interface.
Final Thoughts
Professional livestreams are built on three fundamentals:
- Clear audio
- Good lighting
- Reliable workflow
As your audience grows, you can gradually add cameras, graphics, lighting, and production tools to create an even more engaging experience.
The best livestream setup isn’t necessarily the most expensive—it’s the one that allows you to communicate confidently and consistently with your audience.
At TOURACK, we’re passionate about helping creators, educators, musicians, churches, and businesses build livestream systems that fit their goals and budget. Whether you’re streaming from a bedroom studio or producing multi-camera live events, our TOURACK Advisors™ can help you choose the right equipment for your production.
Related Products
- USB Microphones
- XLR Microphones
- Audio Interfaces
- PTZ Cameras
- Conference Cameras
- LED Studio Lighting
- Stream Controllers
- Video Capture Devices
- Closed-Back Headphones
- Livestream Bundles
Related Articles
- Podcast Starter Kit
- Conference Camera Buying Guide
- Choosing Your First Audio Interface
- How to Record Professional Vocals at Home
- Best Home Studio Layout
- USB Microphone vs. XLR Microphone