
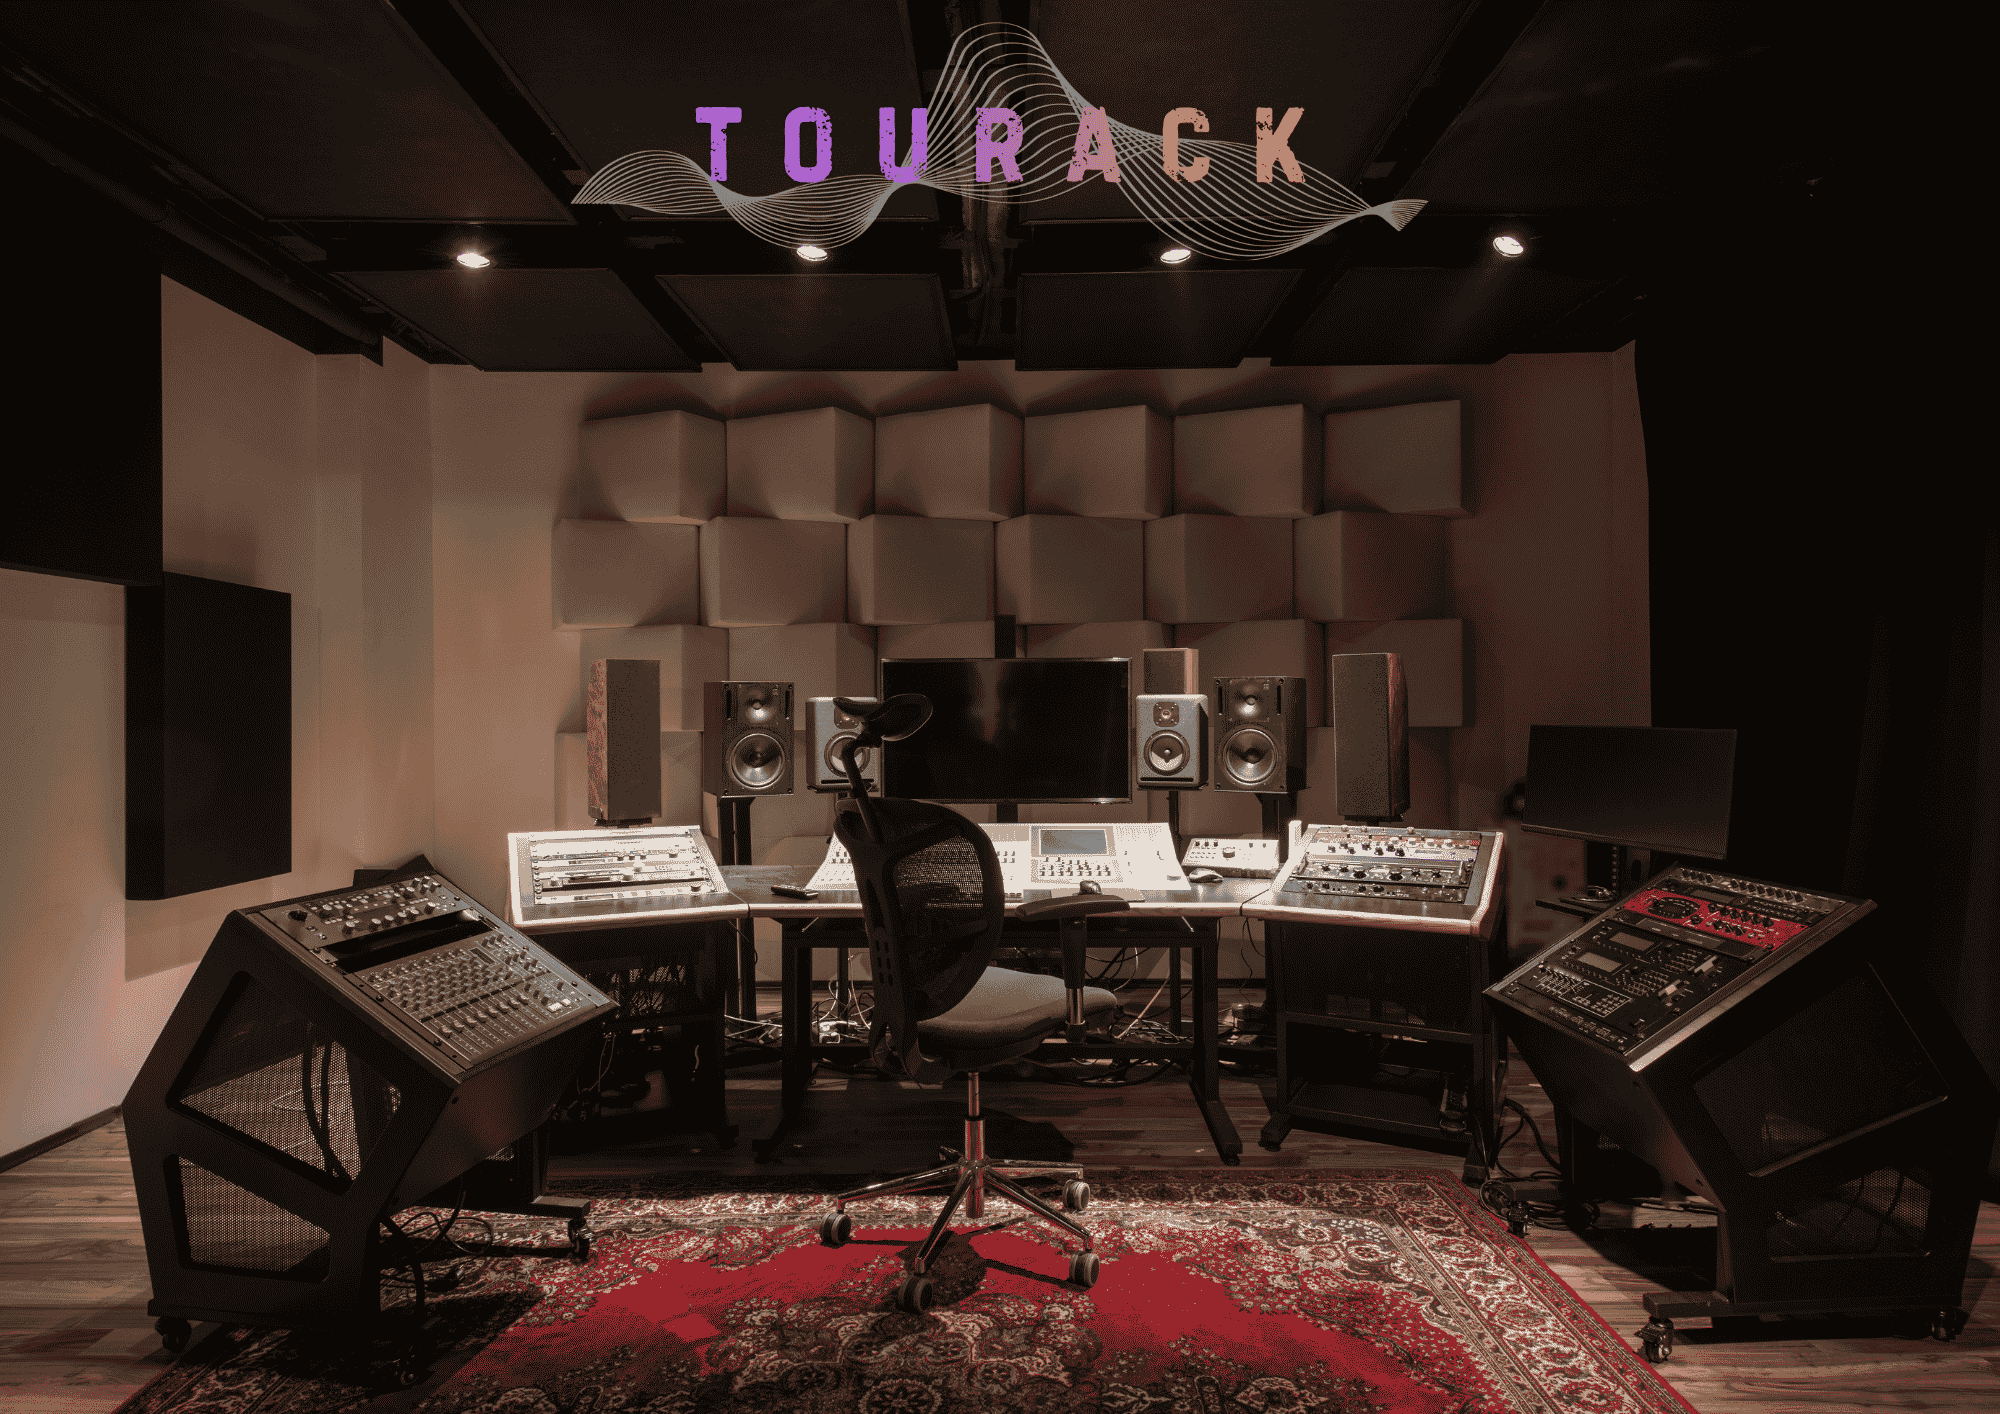
Introduction
Building a home recording studio isn’t just about buying great equipment.
The way you arrange your workspace has a major impact on sound quality, comfort, creativity, and productivity. Even the best microphones, speakers, and audio interfaces can’t perform at their full potential if they’re placed in a poorly designed room.
Whether you’re producing music, recording podcasts, editing videos, or mixing professional projects, a thoughtful studio layout can help you work more efficiently while improving your listening environment.
This guide covers the fundamentals of designing a practical and effective home studio.
Start with the Right Room
Before purchasing equipment, consider the room you’ll be working in.
An ideal studio space should have:
- Minimal outside noise
- Symmetrical walls when possible
- Enough space for speakers and furniture
- Adequate ventilation
- Reliable electrical outlets
Square rooms often create stronger standing waves, while slightly rectangular rooms generally provide more balanced acoustics.
Position Your Studio Desk
Your desk is the center of your workspace.
Whenever possible:
- Face the shorter wall of the room.
- Position the desk in the center of the room.
- Leave space behind your listening position.
- Keep both sides of the room as symmetrical as possible.
A symmetrical layout helps create a more accurate stereo image.
Speaker Placement Matters
Studio monitors should form an equilateral triangle with your listening position.
The distance between the two speakers should approximately match the distance from each speaker to your ears.
For the most accurate monitoring:
- Place tweeters at ear level.
- Angle the speakers toward your listening position.
- Keep both speakers the same distance from nearby walls whenever possible.
- Avoid placing speakers directly against a wall unless designed for that application.
Proper speaker placement often has a greater impact than upgrading to more expensive monitors.
Choose the Best Listening Position
Avoid sitting directly against the back wall.
A common starting point is positioning your listening location approximately 38% of the room’s length from the front wall.
While every room behaves differently, this position often reduces problematic low-frequency buildup and provides a better starting point for acoustic treatment.
Acoustic Treatment
One of the most effective upgrades for any home studio is acoustic treatment.
Focus on:
First Reflection Points
Install acoustic panels on the side walls and ceiling where sound from your speakers first reflects toward your listening position.
Bass Traps
Low frequencies accumulate in room corners.
Bass traps help reduce excessive low-frequency buildup and improve bass accuracy.
Rear Wall
Depending on the room, the rear wall may benefit from acoustic absorption, diffusion, or a combination of both.
Organize Your Equipment
Arrange frequently used equipment within easy reach.
A practical workstation might include:
- Computer monitor
- Audio interface
- MIDI keyboard
- Studio monitors
- Control surface
- Headphones
- External drives
Keeping your workflow organized reduces distractions during recording and mixing sessions.
Cable Management
A clean workspace isn’t just visually appealing—it also improves safety and simplifies maintenance.
Tips include:
- Separate power and audio cables when possible.
- Label important cables.
- Use cable ties or sleeves to reduce clutter.
- Leave enough slack for equipment adjustments.
Good cable management makes future upgrades much easier.
Lighting
Lighting influences both comfort and creativity.
Consider combining:
- Natural daylight
- Adjustable desk lighting
- Indirect ambient lighting
- Bias lighting behind computer monitors
Avoid harsh overhead lighting that creates unnecessary eye strain during long sessions.
Ventilation and Comfort
Long recording sessions require a comfortable environment.
Pay attention to:
- Ergonomic seating
- Air circulation
- Comfortable room temperature
- Adequate desk height
- Easy equipment access
Comfort encourages longer, more productive creative sessions.
Think About Future Expansion
Many home studios grow over time.
Leave room for future additions such as:
- Additional studio monitors
- Outboard processors
- More microphones
- Rack equipment
- Larger control surfaces
- Additional displays
Planning ahead can save time and money later.
Common Studio Layout Mistakes
Placing Speakers Against the Wall
This can exaggerate low frequencies and reduce stereo accuracy.
Ignoring Room Symmetry
Uneven speaker placement creates an unbalanced listening environment.
Buying Equipment Before Treating the Room
Acoustic treatment often provides a greater improvement than upgrading equipment.
Poor Cable Organization
Messy cables make troubleshooting and future upgrades unnecessarily difficult.
Overcrowding the Workspace
Leave enough open space to work comfortably and keep frequently used equipment easily accessible.
Studio Layout Checklist
Before you begin recording or mixing, check that your studio includes:
- ✔ Symmetrical desk placement
- ✔ Proper speaker positioning
- ✔ Acoustic treatment at first reflection points
- ✔ Bass traps where appropriate
- ✔ Comfortable listening position
- ✔ Organized cable management
- ✔ Adequate lighting
- ✔ Comfortable chair
- ✔ Easy equipment access
Frequently Asked Questions
Does room size matter?
Yes. Larger rooms generally offer greater flexibility, but even small spaces can produce excellent results with thoughtful layout and acoustic treatment.
Should my speakers sit directly on my desk?
Dedicated monitor stands or isolation pads often provide better performance by reducing unwanted vibrations.
What’s more important: expensive monitors or good room acoustics?
For many home studios, improving room acoustics and speaker placement provides a more noticeable improvement than simply upgrading speakers.
Can I build a great studio in a bedroom?
Absolutely. Many successful producers, engineers, and content creators work from bedroom studios. Careful planning and acoustic treatment can make a significant difference.
Final Thoughts
A well-designed studio layout helps you hear your mixes more accurately, work more efficiently, and stay inspired throughout every project.
The goal isn’t to create the most expensive studio—it’s to create a workspace that supports creativity, delivers reliable monitoring, and allows your equipment to perform at its best.
By combining smart room planning, proper speaker placement, effective acoustic treatment, and an organized workflow, you’ll build a home studio that’s ready to grow alongside your creative ambitions.
At TOURACK, we’re passionate about helping musicians, producers, podcasters, and creators design studios that fit their space, workflow, and budget. Whether you’re building your first home studio or upgrading an existing workspace, our TOURACK Advisors™ are here to help you choose the right equipment and create a studio you’ll enjoy working in for years to come.
Related Products
- Studio Desks
- Studio Monitor Stands
- Studio Monitors
- Audio Interfaces
- Acoustic Panels
- Bass Traps
- Isolation Pads
- Studio Chairs
- Cable Management Accessories
Related Articles
- Home Studio Checklist
- Choosing Your First Audio Interface
- Studio Acoustic Treatment Guide
- Best Studio Monitors for Beginners
- Home Studio Furniture Buying Guide